How to Upload Json to GST Portal
Pintu Dadhaniya
2 years agoIntroduction:
In India, the Goods and Services Tax (GST) is a comprehensive indirect tax levied on the supply of goods and services. As a registered taxpayer, it is essential to file regular GST returns, such as GSTR-1, which includes details of outward supplies. One of the methods to upload GSTR-1 data is through JSON files on the official GST portal, gst.gov.in. In this blog post, we will guide you through the process, accompanied by helpful images to ensure a seamless upload.
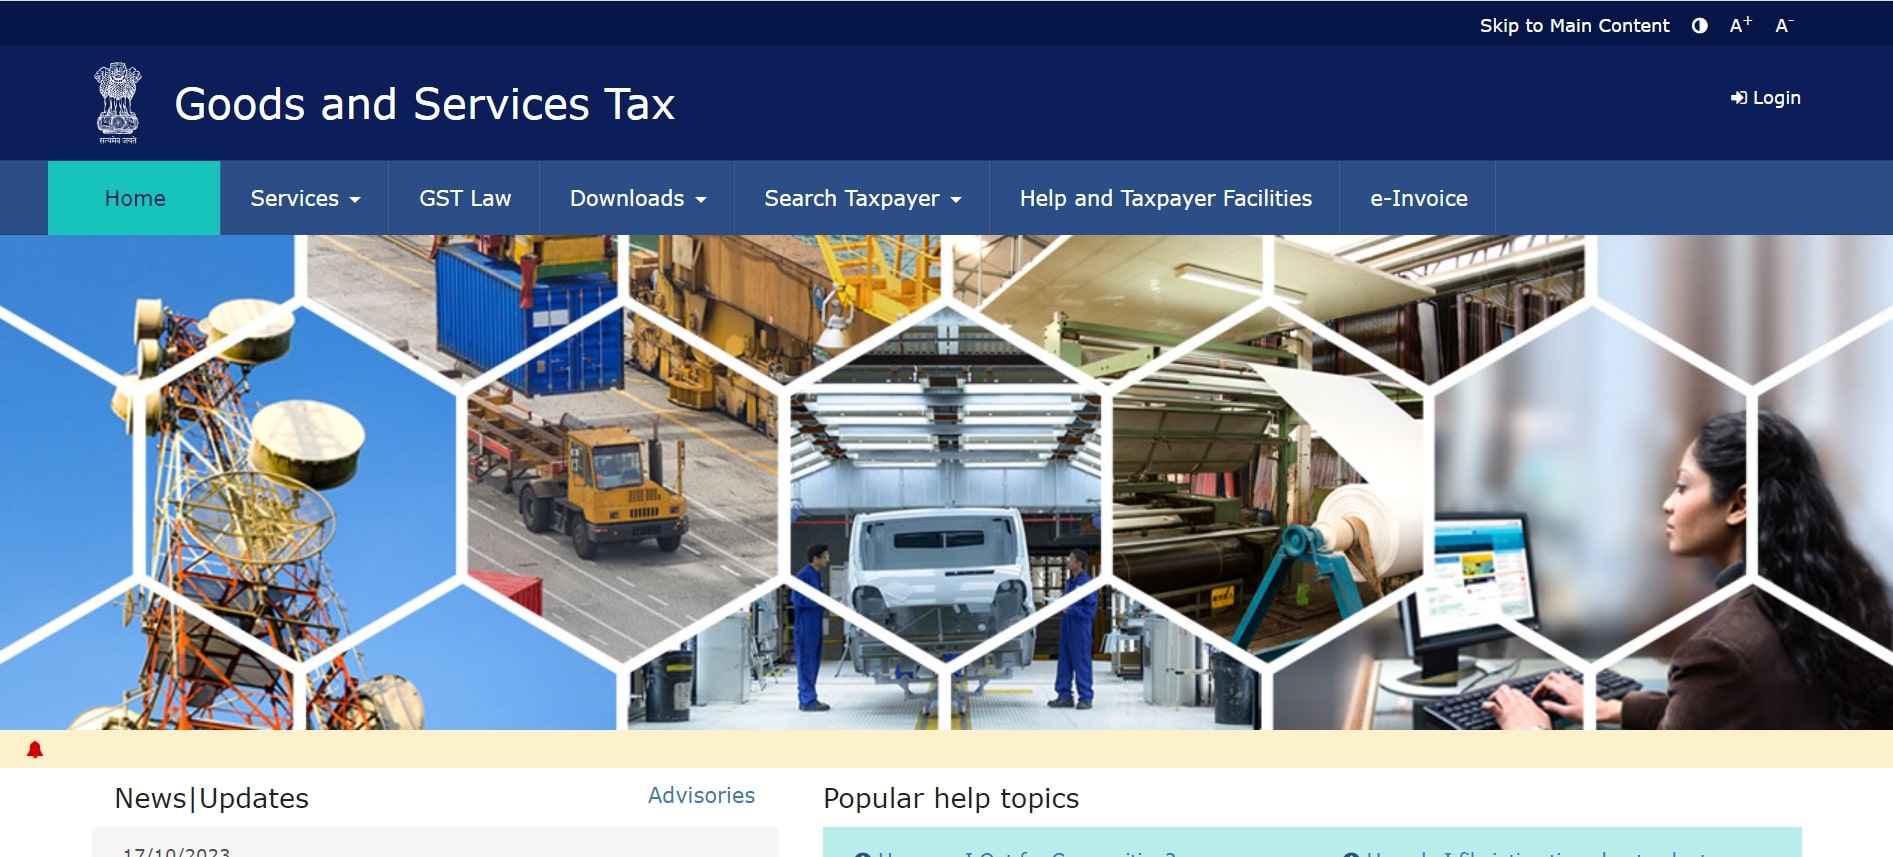
Step 1: Accessing the GST Portal
Visit the official GST portal by navigating to www.gst.gov.in in your preferred web browser.
Step 2: Login to your Account
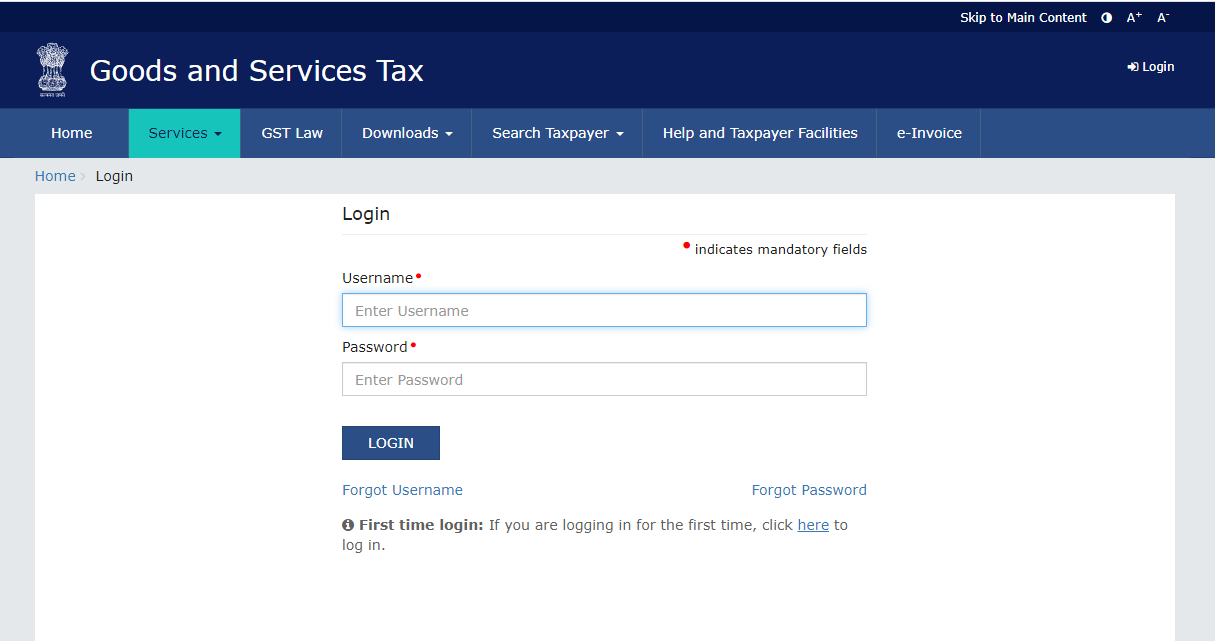
Enter your valid credentials, including your username, password, and captcha code, and click on the "LOGIN" button to access your GST account.
Step 3: Navigate to GSTR-1 Section
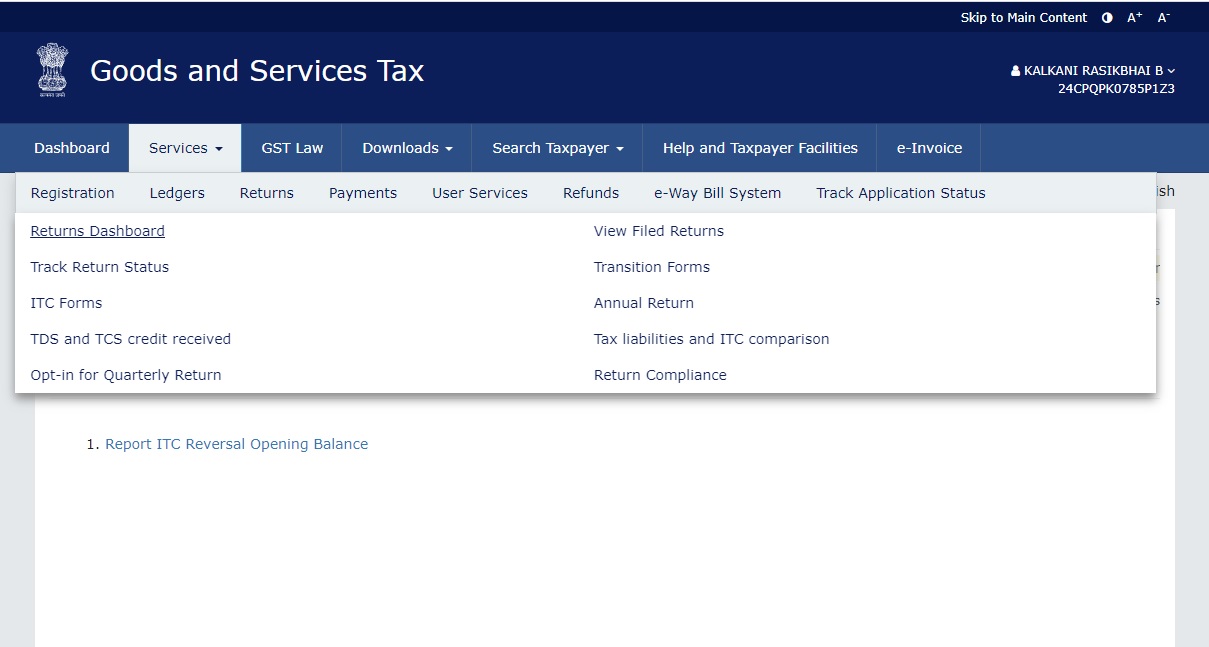
After successful login, you will be redirected to the dashboard. From the main menu, hover over "Services" and select "Returns" Then, click on "Returns Dashboard."
Step 4: Preparing GSTR-1 JSON File
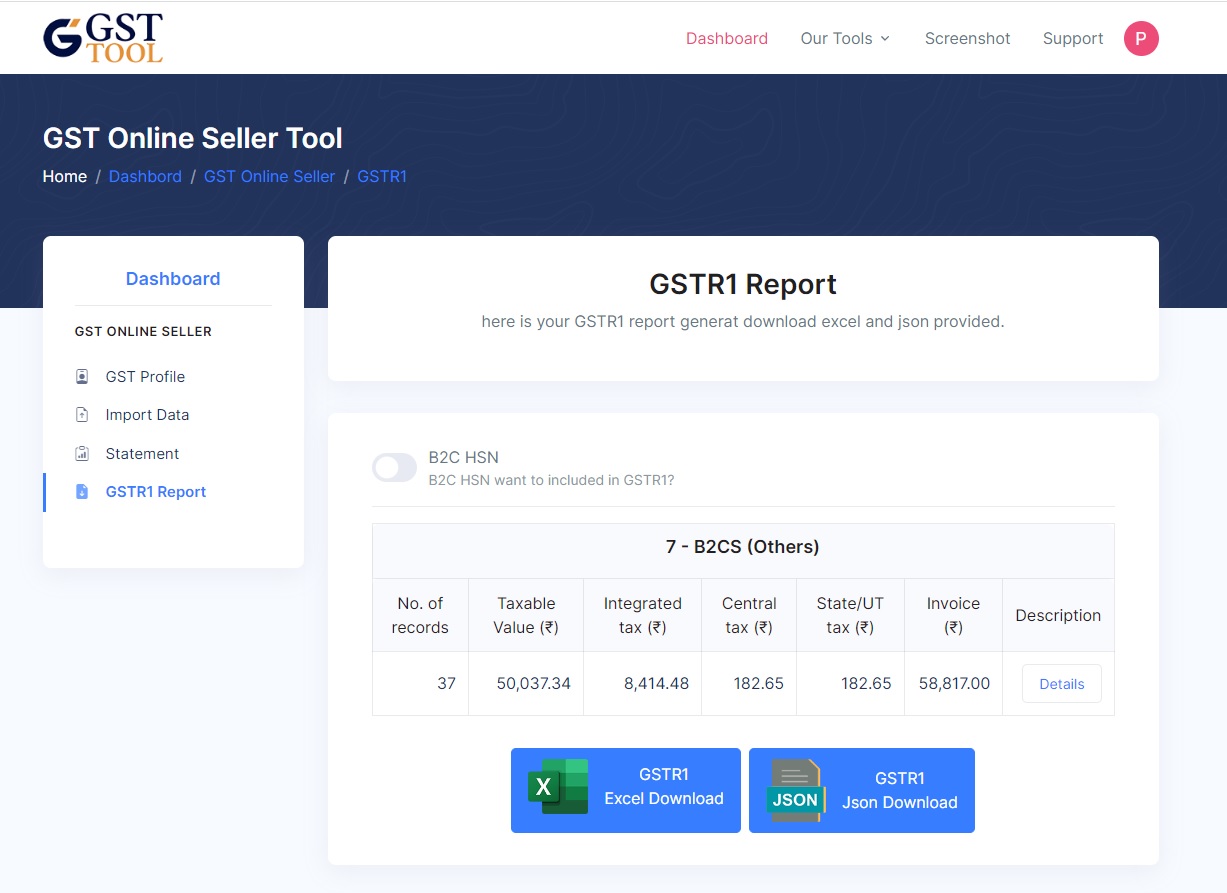
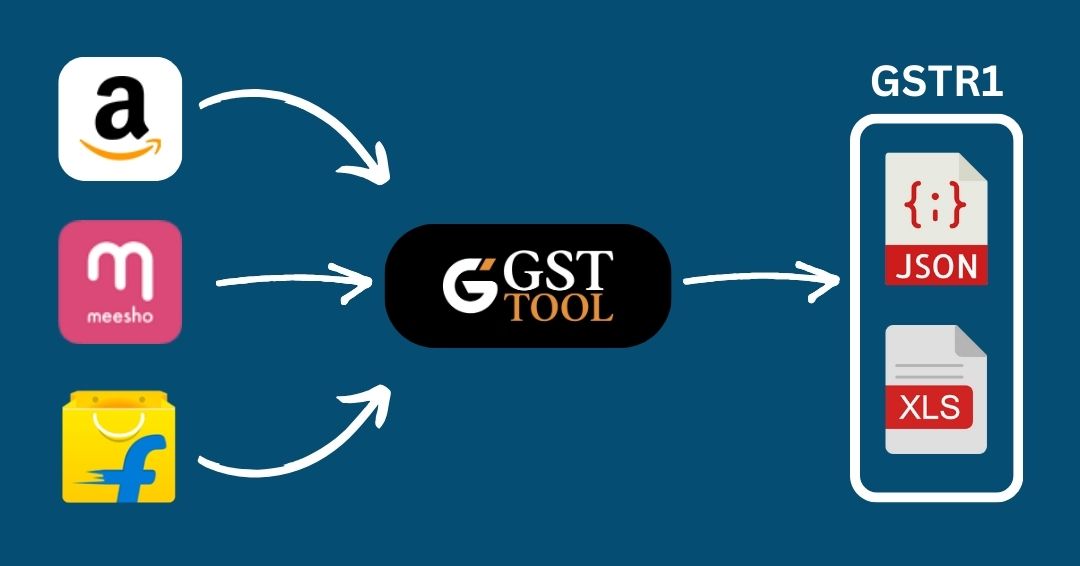
Before uploading the JSON file, ensure that you have prepared the GSTR-1 data and exported it into a JSON format using GST software for online sellers tool. Verify that the file adheres to the specified format and does not exceed the size limit (currently 5 MB).
Step 5: Uploading the JSON File
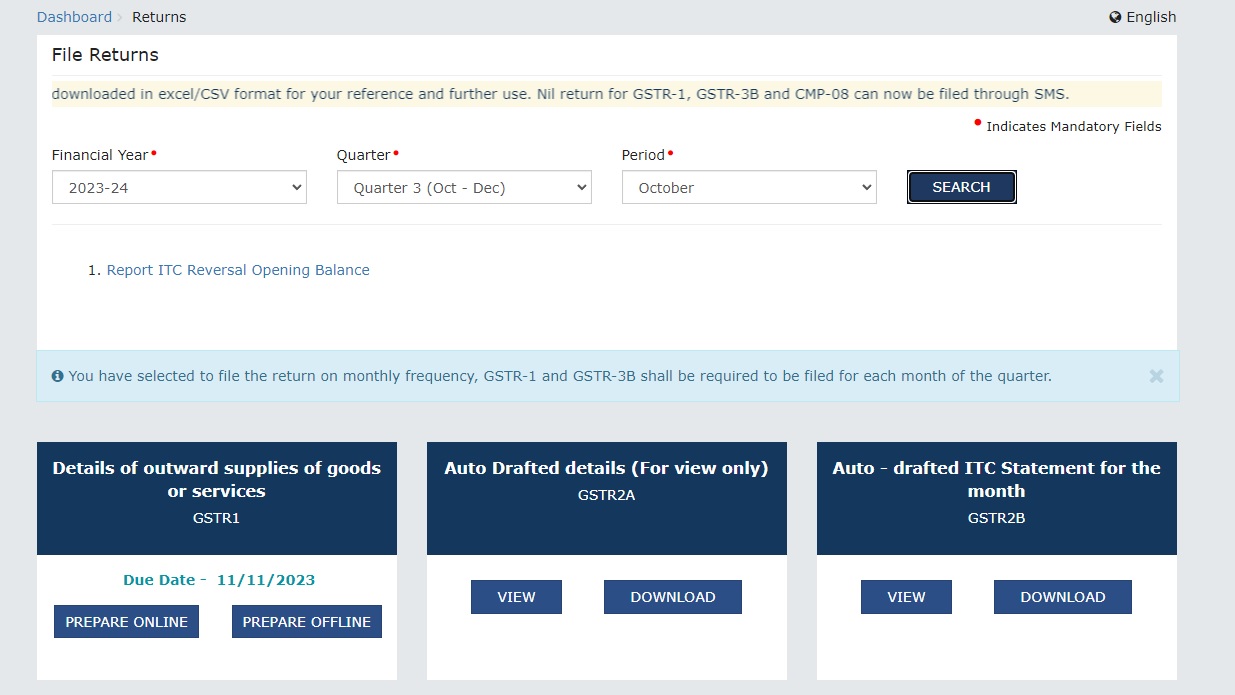
On the GSTR-1 page, you will find a table with different sections. Locate the relevant month for which you want to upload the GSTR-1 data and click on the "Prepare Offline" button.
Step 6: Choose File and Validate
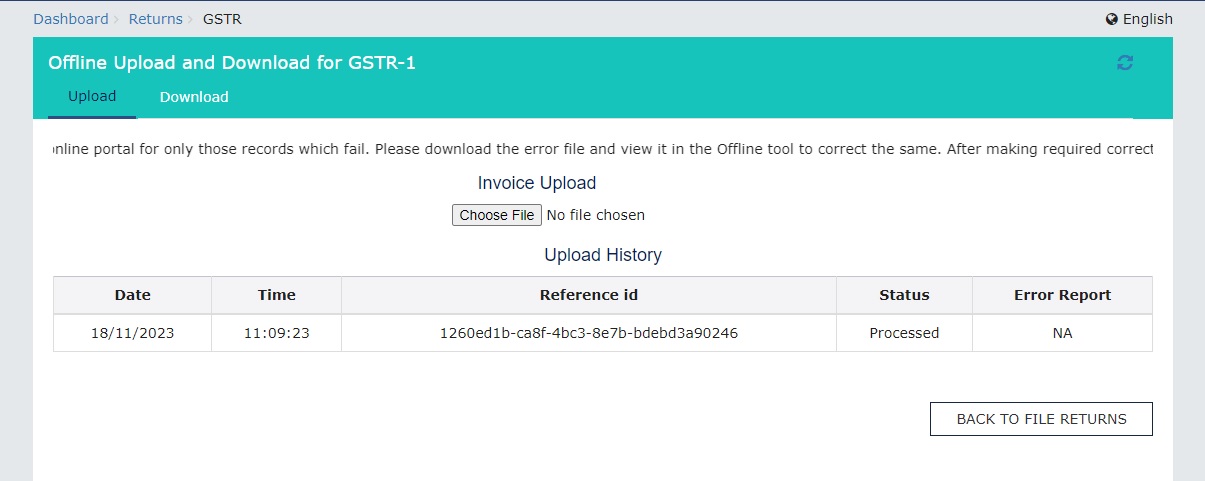
Click on the "Choose File" button and browse your computer to select the GSTR-1 JSON file. After selecting the file, click on the "UPLOAD" button. The portal will validate the file for any errors or discrepancies.
Step 7: View Summary and Submit
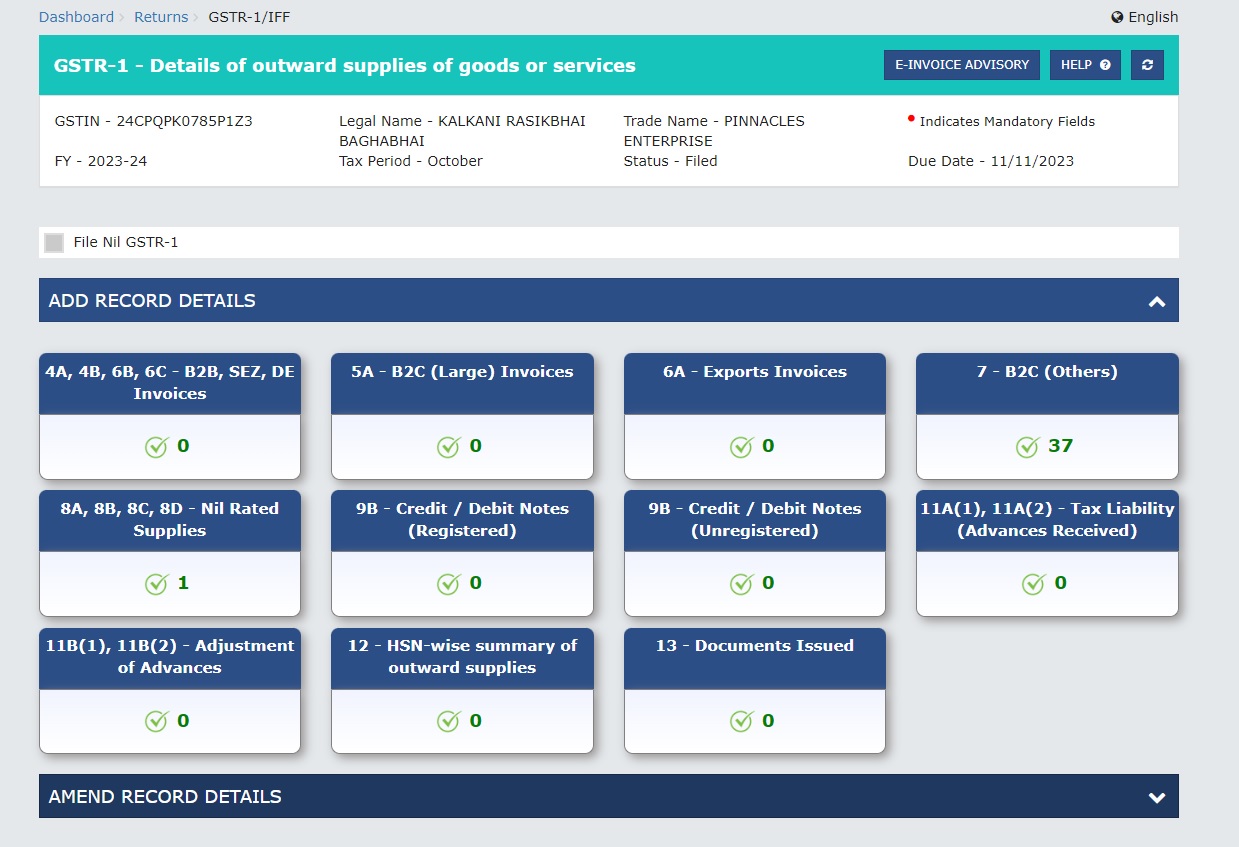
If the JSON file passes the validation, Go to GSTR1 section again and you will see a summary of your GSTR-1 data on the screen. Review the summary carefully to ensure its accuracy. If everything appears correct, click on the "GENERATE SUMMARY" button.
Step 8: Sign and Submit
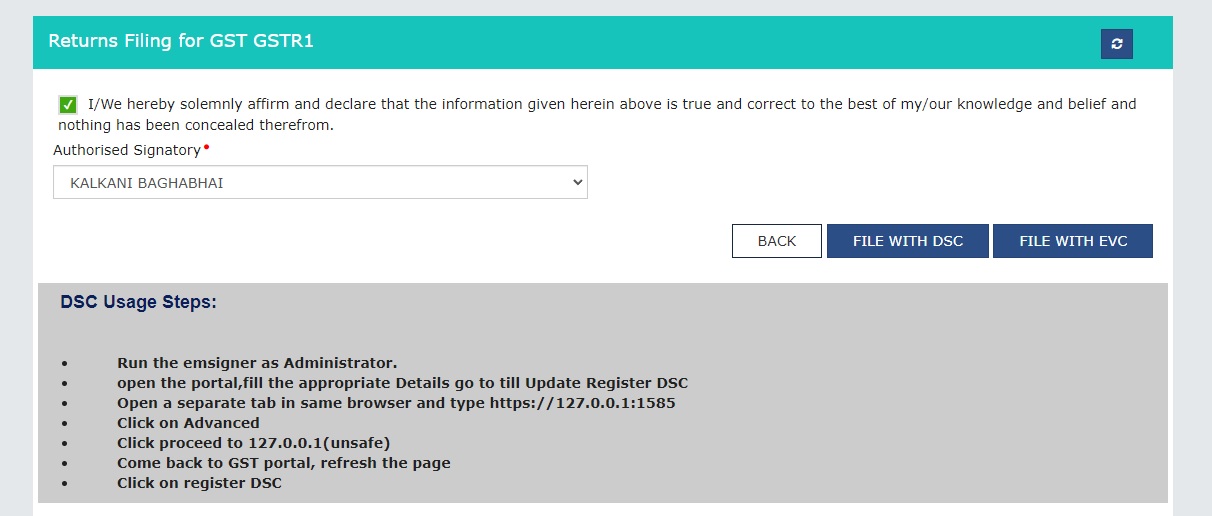
After generating the file, you will be prompted to digitally sign the document using a digital signature certificate (DSC) or electronic verification code (EVC) authentication. Follow the instructions provided by the portal to complete this step.
Step 9: Success Message and Acknowledgment
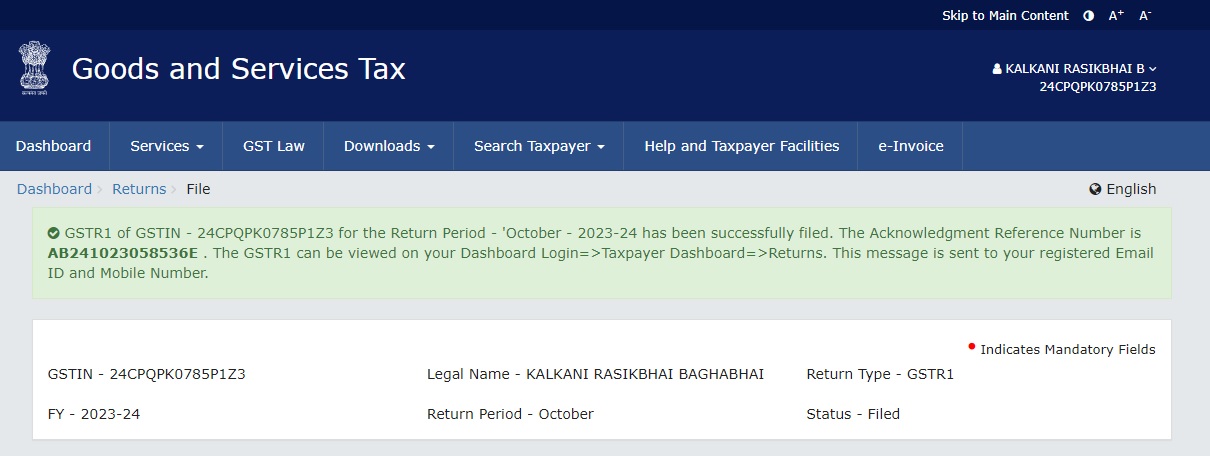
Once you have successfully signed and submitted the GSTR-1 JSON file, you will receive a success message on the portal. Additionally, you can download the acknowledgment receipt as proof of filing.
Conclusion:
Uploading GSTR-1 JSON files on the gst.gov.in portal is an important step in complying with GST regulations. By following the step-by-step guide provided above and referring to the accompanying images, you can streamline the process and ensure accurate submission of your GST returns. Remember to keep a record of your acknowledgment receipt for future reference. If you encounter any difficulties during the upload, consult the GST helpdesk or seek professional assistance to ensure timely and accurate compliance.
GST Online Seller
Convert E-Commerce Data To GSTR1 Excel/Json