Fix “File could not be uploaded!” Error in GSTR-1 JSON
If you’ve tried uploading your GSTR-1 JSON file to the GST Portal and received an error like:
File could not be uploaded! Download the latest version of Offline Tool to generate the JSON file or ensure to validate your uploaded file against the template published at Specification Portal.
This common issue usually occurs when your JSON file is not generated properly, or its internal structure doesn’t match the latest GSTN JSON format. Let’s fix it step by step using our free GSTR-1 JSON Validation Tool.
Why this error occurs
- The JSON structure does not match the latest GSTN schema.
- Required fields are missing or have invalid values (e.g.,
pos,sply_ty,ctin). - You used an outdated Offline Tool version to generate the JSON.
- The JSON was edited manually and formatting or keys got corrupted.
Before you start
- Keep your original JSON backup file safe before editing.
- Prefer exporting JSON again from your accounting software (Tally/Busy) using the latest Offline Tool—when possible.
- Open the validation tool and follow the steps below.
How to Fix It
Step 1 — Open the GSTR-1 JSON Validation Tool
Go to: GSTR-1 JSON Validation Tool.
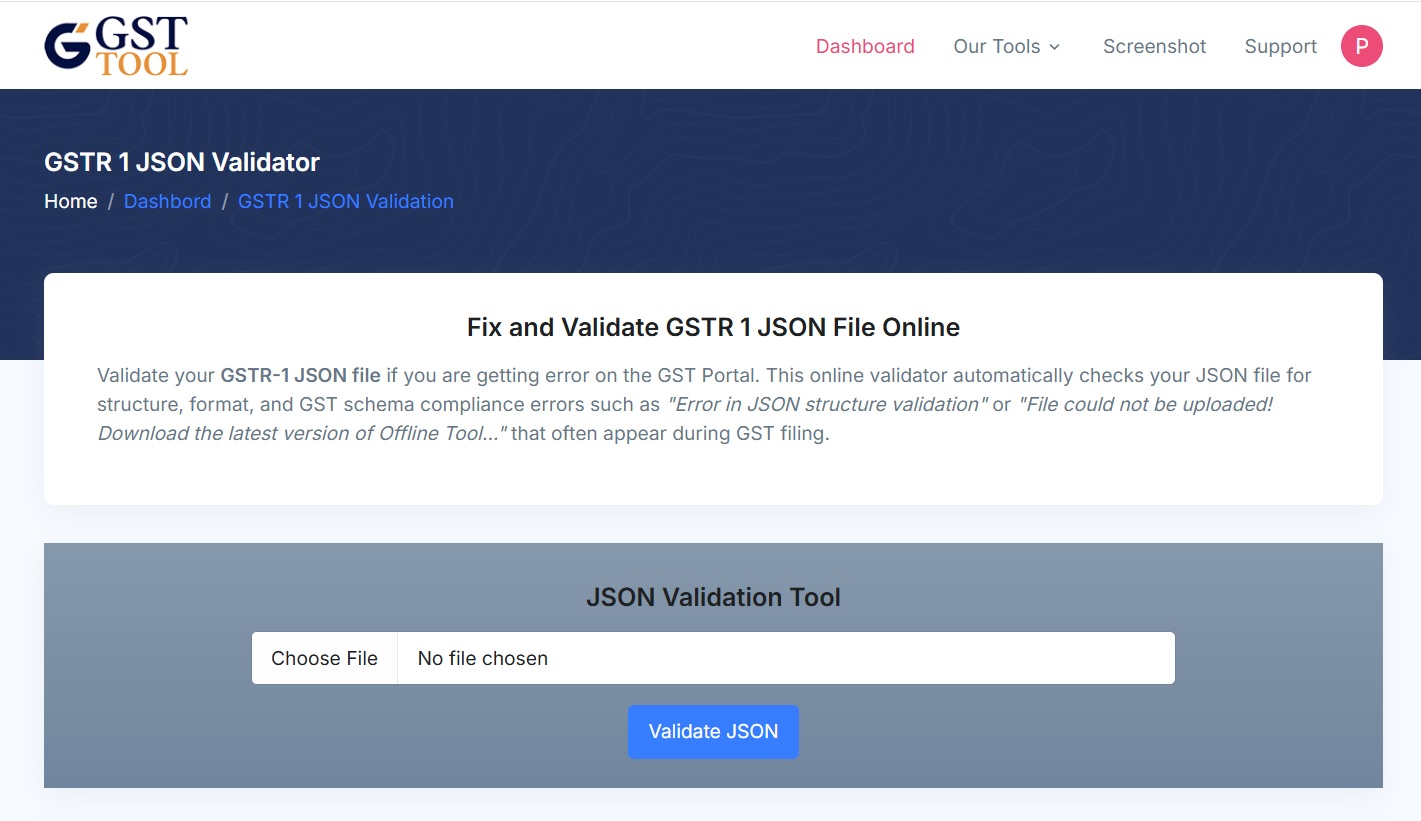
Step 2 — Upload your JSON file
Click Choose file and select the JSON exported from your Offline Tool. Then click Validate JSON.

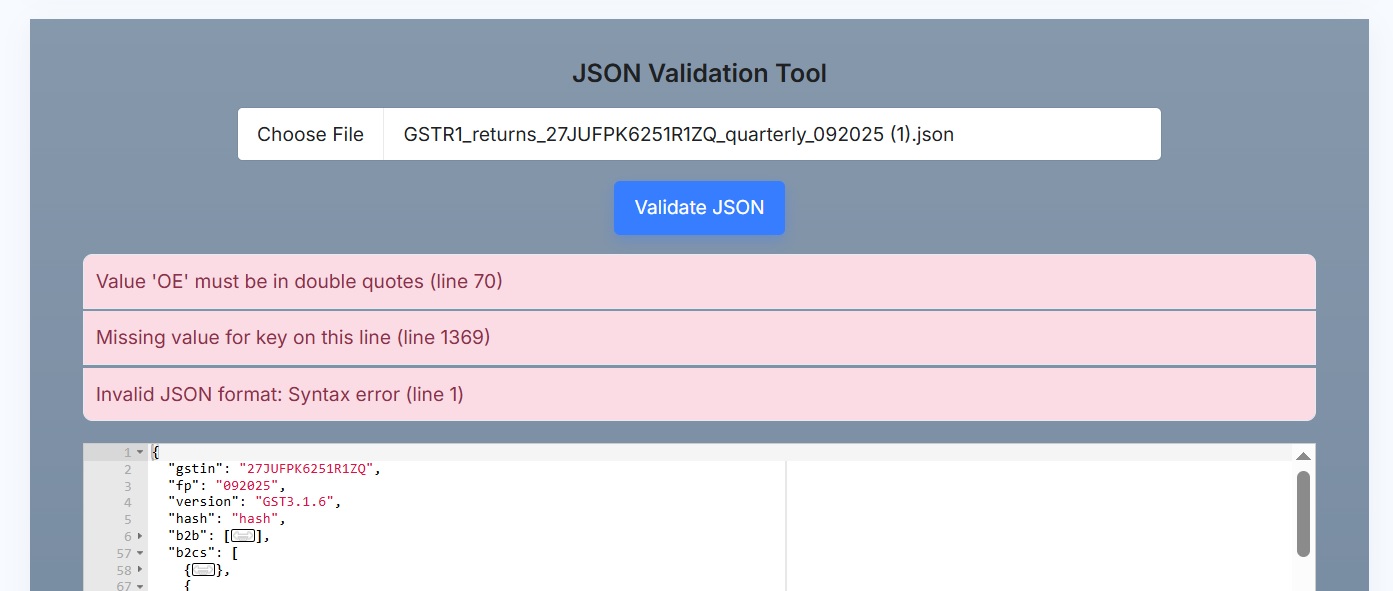
Step 3 — Read the validation errors
The tool runs schema and field-level checks and lists errors with precise locations. Example messages include:
Step 4 — Jump to the error in the JSON viewer
Click any error message in the list — the editor will auto-scroll to the exact JSON line. This saves time and avoids manual searching.
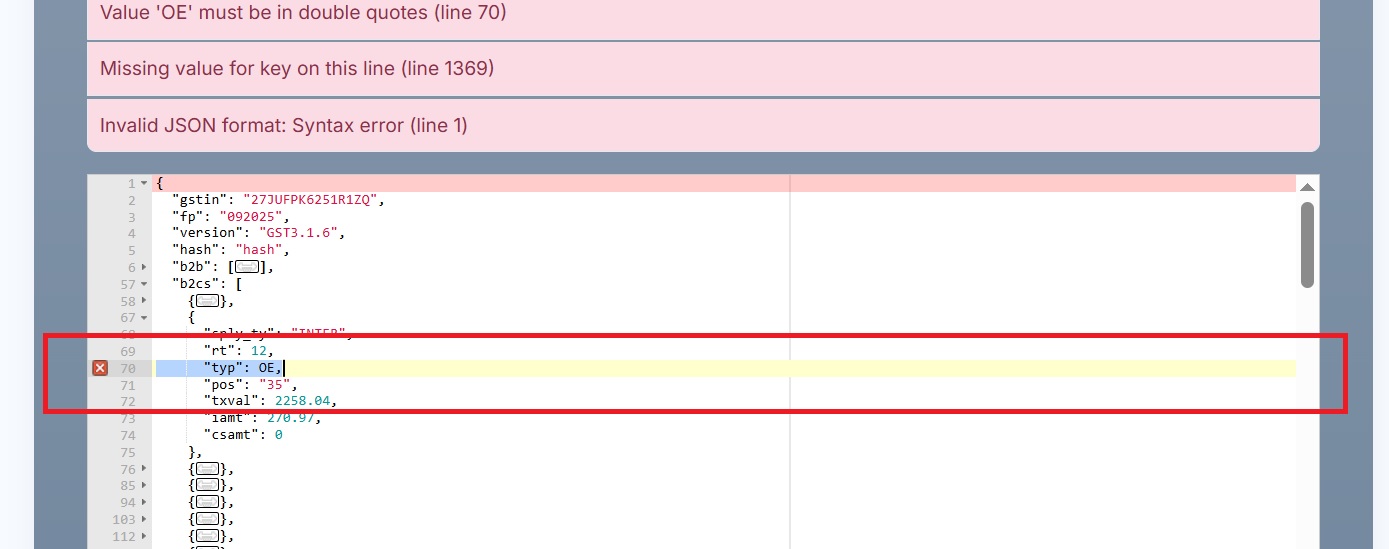
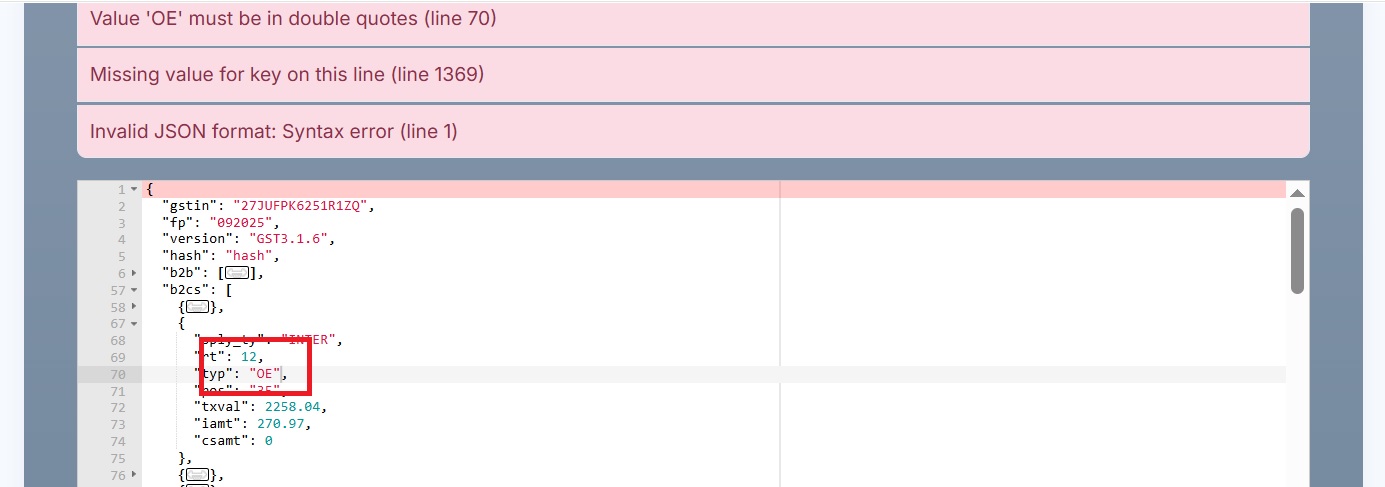
Step 5 — Fix the value(s) in the editor
Edit the incorrect field(s) directly inside the JSON editor. Typical fixes:
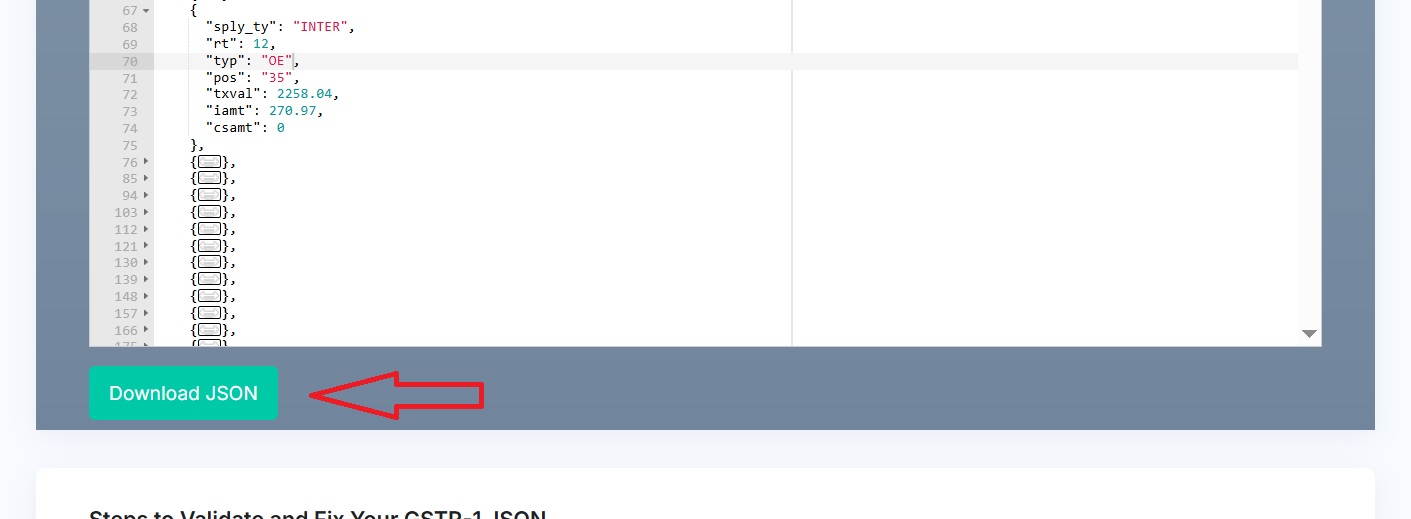
- Value 'OE' must be in double quotes (line 70).
- Missing value for key on this line (line 1369).
Step 6 — Download corrected JSON
When validation succeeds, the Download JSON button appears. Click it to get your corrected file.
Step 7 — Revalidate and confirm no errors remain
After download corrected file, reupload and click Validate JSON again. Keep fixing until the error list is empty or only non-blocking warnings remain.
Step 8 — Upload corrected JSON to GST Portal
On the GST Portal, go to Returns → GSTR-1 → Upload JSON and upload the corrected file. If the validation tool fixed all schema issues, the upload should succeed.
Troubleshooting & common fixes
- Still failing after fixes? — Re-export the JSON from your accounting software using the latest GST Offline Tool and revalidate.
- Exported JSON is missing fields — Check settings in your accounting software; ensure all invoice types are included in export.
- Multiple occurrences of the same error — Use the editor’s search to find all instances and fix them in bulk if applicable.
- Manual edits caused format errors — Use a JSON formatter or validator (the tool includes basic syntax checking) before schema validation.
Best practices to avoid this error
- Always use the latest version of the GST Offline Tool to export GSTR-1 JSON.
- Validate JSON with the GSTR-1 JSON Validation Tool before uploading to GST Portal.
- Maintain a copy of your raw export and the corrected JSON so you can track changes.
- Keep common mapping rules documented (e.g., which supply types apply to which sections) to speed corrections.
When to re-export from your software
If many structural errors are present or the tool reports an outdated schema mismatch, it's safer to re-export the JSON from your accounting package (after updating the package / offline tool) and then re-run the validator.
Conclusion
The “File could not be uploaded! Download the latest version of Offline Tool” error is normally caused by schema or field-level mismatches. Using the GSTR-1 JSON Validation Tool, you can quickly locate the exact JSON lines, fix values in the built-in editor, and download a corrected file ready for the GST Portal.
GST Online Seller
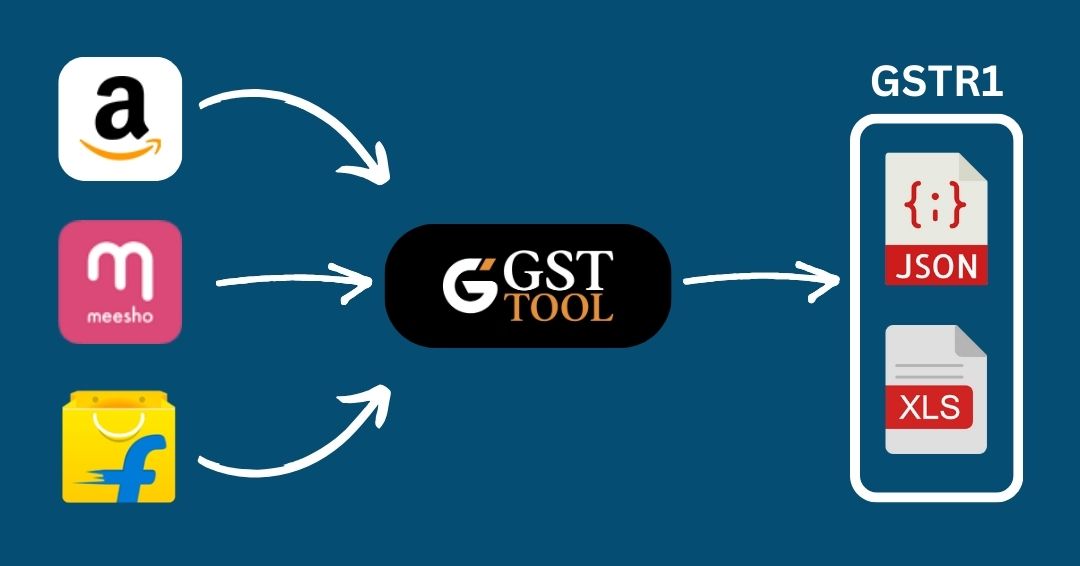
Convert E-Commerce Data To GSTR1 Excel/Json